Active Directory Installation, Configuration and Management-2
Active Directory Site and Services with Replication
Active Directory Domain and Trust
Active Directory Site and Services with Replication
Active Directory Domain and Trust
Lets start with Installation part for Active Directory. Here we will be starting with 2003 Server and then creation/modification editing with AD part and forward to 2008 and 2012 server.
There are lots of enhancement and difference between 2003/2008 and 2012 version of Windows Server and will be discussing on this blog..
My home lab setup is like this :
Vmware workstation with registered version.
I7 Desktop with 32 G RAM,1.8 TB HDD SATA (80GB+250GB+500GB+1TB).
Used Open filer and SCSI different software to share HDD in workstation.
Point to Remember and note with your Excel or Notepad
1. IP Address of Vms
2. User Name and password
3. Any specific configuration that might stop your show :)
Now My 2003 Installation is done with no added and extra feature. Before starting any configuration in Windows Server make sure to update below points
1. Host Name
2. Static IP Address
3. VM Tool ( as we are in Virtual world)
After installation it will show you some different. Please follow the server nomenclature as per your organization with best practise( Some of organization use houch pouch name due to security concern, that if some one logged so he/she could not guess the server functionality by the host name).
So Please correct the host name and give static IP address as we would be starting DCPROMO setup with first DC of the organization.

After reboot I Added DHCP and DNS from control panel, and please keep handy your 2003 ISO or Installation files.

After this Window Select networking services added DHCP/DNS


We have added DNS and DHCP feature and will start with dcpromo command. As we are installing first Domain Controller so continued with Domain Controller for a new Domain.

Selected with Domain in a New Forest


After installation, in user tab you can find by default created user and groups to manage the environment.


We are finally done with AD installation on the first DC of the organization. Still there are some basic configuration require to make operational in network.
After that on make sure to check network adapter settings because it will automatically update the primary IP Address to loopback address.

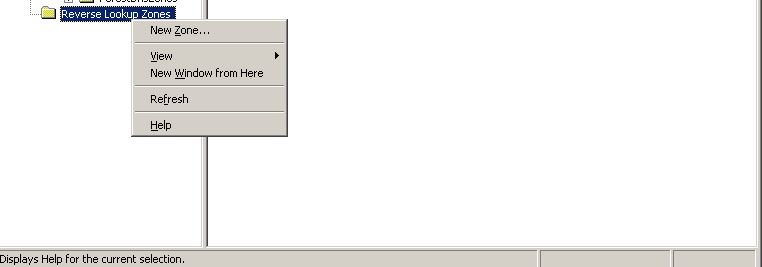
Further to DNS, create reverse lookup and then run the below command to update DNS settings.
ipconfig /flushdns
ipconfig /registerdns
and Restart DNS Server service from service console.


No comments:
Post a Comment