Hello Professionals,
For Citrix Setup, we had done installation and basic configuration.Now i will be sharing some information for below points
1.Basic Commands to check farm
2. Performance Check after Adding New Server to Farm
3.Delegating More Admins on Citrix Servers
4.Add Citrix snapin to powershell
5.Config logging.and enable auditing- Will do this part later.
6.Enable IMA Encryption
7.Enable Pass through Authentication
8.Configure Web Interface
9. Publish Application
Lab Setup:
Citrix Installed Servers- 2 (Windows 2008R2 )
Domain Controller- 3 (Windows 2008R2, Windows 2012R2, Windows 2016)
User System - Windows 7
Some Points random
In XenApp 6.5 there are two new roles added from the previous version,
1. Session Host only
2. Session Controller and Host Only
XenApp to XenApp Communicates with 2512 port.
1. Basically zone exist in xenapp represent different geo location
2. Each zone have a its own data collector
3. As well each server in the zone connect to zone data of its same zone location to update the
3. As well each server in the zone connect to zone data of its same zone location to update the
information
4. This zone data help to load balance and connect the users to the maximum available resources
4. This zone data help to load balance and connect the users to the maximum available resources
server zone.
You can run the command to check which zone is default zone
qfarm /zone
qfarm /zone

I added another server i zone by running same setup with add this server in existing farm on the setup wizard.

by running this command you can get how many servers are are there in farm

By selecting server properties, you can change the preference, as first xenapp server will be dedicated as most preferred.


Once you added the server to existing farm, you can see the performance status from the performance tab to verify its working.
After open performance tool, i deleted all the parameters to bring the citrix to front, you can see the performance status too from performance monitor tool, that exactly what is going on this Xenapp server.here first will show you to see the zone election performance.You can see the selection process by stopping the Citrix IMA service.


The first Xenapp server always elected as most preferred and after that you manually change the option, like in maintenance or there is some operational or performance issue with the server.
By configuration based the election process depend on below points
a. IMA version
b. Manually assigned from configuration console
c. Host ID
the election process start when IMA services is started. The IMA version can be update with hotfix or hotfix rollup pack from Citrix.So always prefer to have latest patches to server.
The user created and completed the the farm configuration will be first and only the default administrator of the farm with full access. There are different privileges in farm which can be delegate based on professional role based and experience.
a. Full : This option have full access to the farm on the citrix environment.
b. read only : this option have read only access to the farm of citrix environment
c. custom : this option can have access on apps or servers or to perform any activity to the Citrix environment
Having a single administrator in the farm is not good and recommended solution, so we will add further administrators using with full or read or custom options. For better management, i created 3 different security groups by name CitrixAdmin, CItrixReadAdmin and CitrixCustomAdmins in Active Directory and will add those users to groups not to Citrix.
From AD point of view if there are not more administrator then adding individual id to server is good but if you have more users and in future its going for custom access then always create security group and add users to security group, this help to manage the access as well inventory too.
Now here adding other admins to farm


Custom Admins can have different types of option as per available options like this.


Now will add Citrix Snapin to powershell for smart Administration.
type add-pssnapin CItrix.XenApp.Commands and press enter

and once this is done you can confirm by typing get-XA press tab and you can see lots of available XenApp commands.
Now the very important IMA Encryption on Citrix Farms. This encryption enhance security in farm and the most important points that all servers use the and have the same key. Loss of the key means encryption will not work.
Copy the ctxkeytool.exe from support folder of the installation CD and create the key on first server and add to all servers before rebooting.
Copy the ctxkeytool.exe from support folder of the installation CD and create the key on first server and add to all servers before rebooting.
to Enable encryption we would need these two files, you can get from installation CD under support folder.


There are different available options with this Tool

we will be first generating the encryption key for Citrix farm

In the directory, encryption key is saved

Now uploaded to Citrix Farm

New key is placed and marked as active and enabled.

copy the same folder to other Citrix servers and load the encryption key.

Finally, IMA encryption is enabled to Citrix Farms.
I configured Web Interface but am not getting logged in to Web Console.

and in the event logs, getting these two.


Tried and review the logs for almost 3 hours and got some things important and was missing to check.In Citrix Policy its allowed under port 8080. So modified the web interface port from 80 to 8080 and restarted the Citrix XML service.


Now will proceed how to enable Pass Through Authentication for Citrix Farms.
used by the enterprise client and default location is C:\interpub\wwwroot\citrix\PNAgent.
Enabling pass through authentication will enable and allow users credentials to passed to the web interface server and best practise says that should be enabled by group policy icaclient.adm.
Enabling pass through authentication will enable and allow users credentials to passed to the web interface server and best practise says that should be enabled by group policy icaclient.adm.
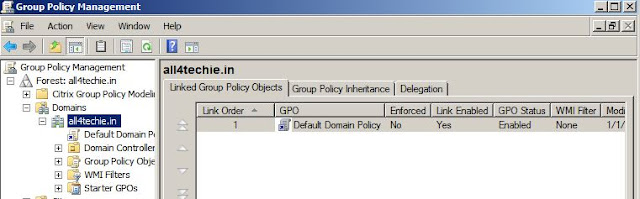
First Will add ADM file to group Policy management console.


then after update the PNA agent xml path to client side and gpupdate /force will update the settings.

Then users can access the published application as per access with there profile on start menu.
Will forward now for more configuration option on web interface site and its backup/restore options.
Sites can be configured bu using web interface MMC or using hte text file C:\intepub\wwwroot\citrix\<sites>\conf\webinterface.conf.
And to perform this the very interesting fact that no reboot of server or IIS is require.
You can take backup and replicate sites configuration too by this configuration file.webinterface.conf
you can manage your site configuration from here.
And to perform this the very interesting fact that no reboot of server or IIS is require.
You can take backup and replicate sites configuration too by this configuration file.webinterface.conf
you can manage your site configuration from here.
Server farms shows you number of server which are attached with this farm, Authentication method shows you types of authentication.

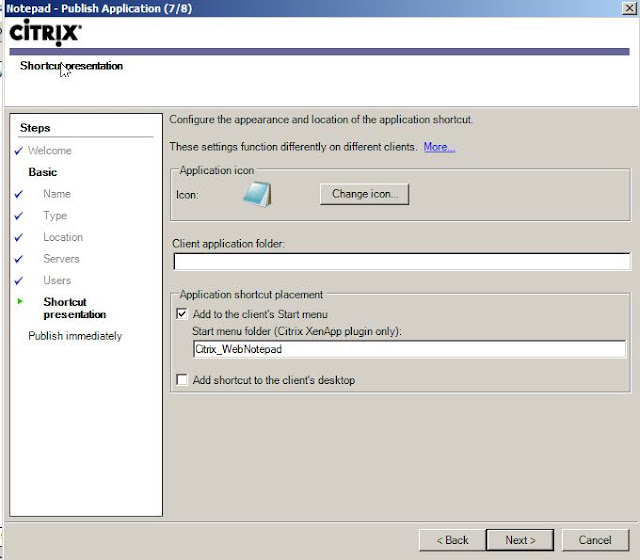
Now will test and see how to publish the applications on Citrix farm. Browse to the application and right click and publish new application


Some times it gives you error, i got this error once i tried to access the published application from client side.
Solution of this issue i found the network connectivity.

Here another thing that you can block or stop the application with from the one server and the reg setting is this.
HKEY_LOCAL_MACHINE\System\CurrentControlSet\Control\Terminal Server\fDenyTSConnections it should be "1"
By default its enabled with "0"
You can check the status with these commands
CHANGE LOGON /QUERY
QFARM /LOAD
QFARM /LOAD

I am trying to share more and more topics and you all will be notified with social media links.
Please comment and let me know if any query for any topic.I will be very happy to receive your feedback and questions. Thank you so much for support and sharing this.
Learn, earn and share the knowledge.
No comments:
Post a Comment